Hello, and welcome to d20diaries!
A new entry in the ‘Young Adventurer’s Guide‘ series of children books from Dungeons & Dragons is scheduled to launch next week and we are absolutely thrilled to be in possession of an advance copy of this delightful book, which we’re going to share with you today!
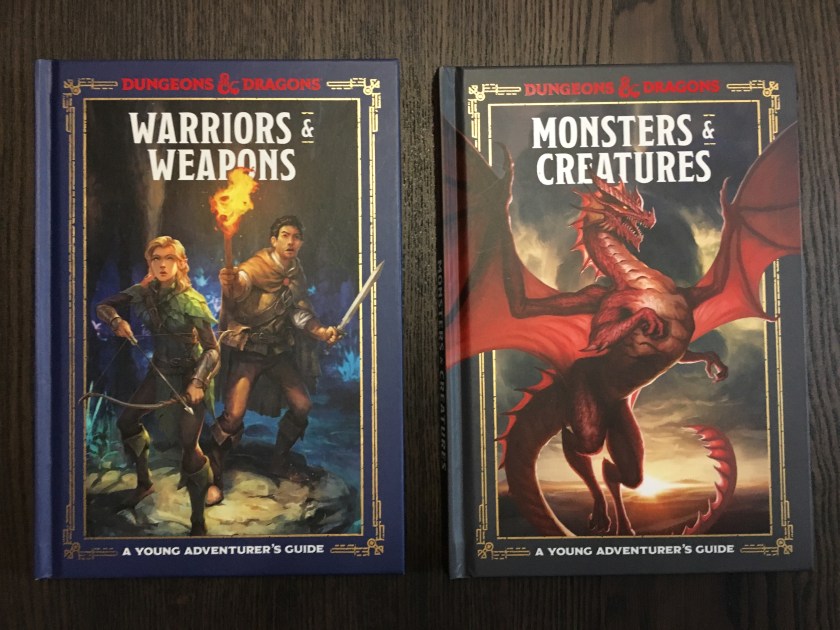
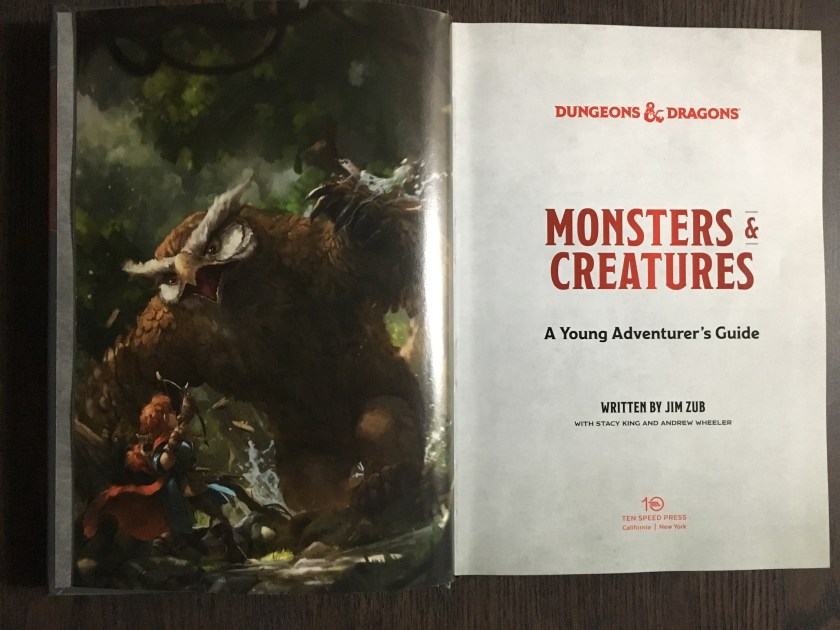
The Dungeons & Dragons Young Adventurer’s Guide series is written by Jim Zub, Stacy King, and Andrew Wheeler. The series began with two simultaneous releases on July 16th, 2019: ‘Monsters and Creatures’ and ‘Warriors and Weapons.’ (For full details on these two books, check out our previous review here). On November 26th, ‘Dungeons & Tombs‘ will be released! There is one more book in development, scheduled for Spring 2020 (Wizards & Spells: A Young Adventurer’s Guide) and, if they’re popular enough, there may be more beyond that in the future. The D&D Young Adventurer’s Guide series is intended for middle-grade readers (ages 8-12) and meant to inspire these young readers to read, write, create, imagine, and of course, play D&D. The American cover price for each of the books is $12.99, with the Canadian cover price $17.50. Each book is 105 pages long.

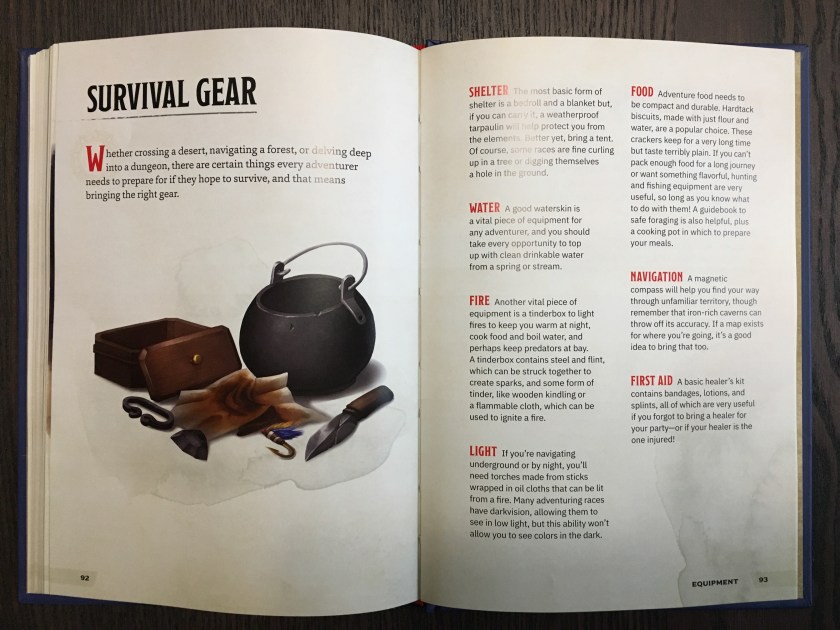
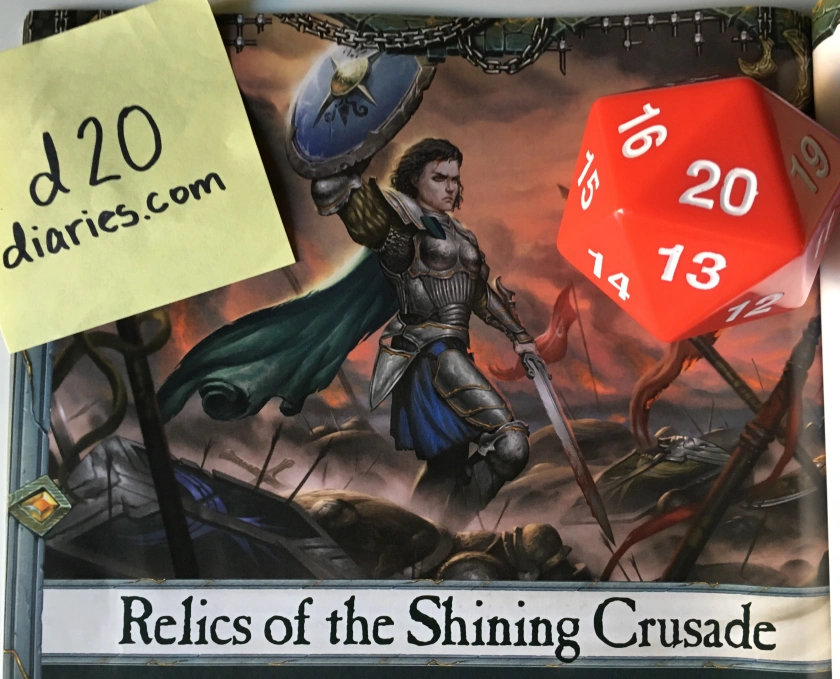
Like previous entries in this series, Dungeons & Tombs looks and feels great! It has a high quality hard cover, sturdy glossy pages, tons of unique full colour art, and a design aesthetic that’s in line with the adult D&D releases. This book feels like it’s a part of the Dungeons & Dragons line — which is absolutely awesome! It makes my kids feel like this book, and previous ones in the series, is just as important as the rest of our D&D books, which in turn makes them feel included and a part of the hobby.
 Taken on their own, the Young Adventurer’s Guides have a nice layout, easy to read text, beautiful art, and are well organized. They’re approachable, interesting, engaging, and clearly written for kids, but, at the same time, the books don’t talk down to the reader. These books are written with care, and meant to provide younger audiences an easy to understand introduction to the world of roleplaying games and storytelling, as well as inspire them to make the world and stories their own.
I have two children, a seven year old girl and an eight year old boy, making them on the young end of the intended audience for these books. Both of my kids have very good reading comprehension for their age. That said, both of my kids thoroughly enjoyed these books. Both my son and daughter had no problem reading the books and seemed to understand everything they read. My daughter, understandably, had a bit more trouble than her older brother, having to sound out a tricky word or two once or twice a chapter. Despite this, she was fully engaged with reading the books and never got frustrated. As is typical with many fantasy books, the trickiest words are fictional names of characters and places. While many kids will stumble over these words once or twice before internalizing them, just as many will skip over them and move on. That said, there were very few names my kids had trouble with, which is really nice to see. My son didn’t come across any content that he found inappropriate or too mature for him, while my daughter came across one location and one creature she decided were a little ‘too spooky’ for her right now, so she skipped those pages and continued on enjoying the rest of the book. Considering the age and reading abilities of my kids, I think these books are well suited to the middle-grade reader level they’re advertised as. My kids loved them, and they definitely have room to grow with the books. We haven’t had them long and already my kids have read and re-read them more than a few times. They’ve already started utilizing information they picked up from the books in their play, storytelling, roleplaying, and gaming. My son has started drawing maps of his own, and my daughter’s already created a whole adventure featuring some of the advice and new creatures in this book. These are the sort of books my kids get a ton of use out of, coming back to them often, and using different sections for inspiration at different times.
It’s important to note that Dungeons & Tombs (and the other Young Adventurer’s Guides) are NOT a replacement for the D&D Player’s Handbook or the Monster Manual. They do NOT contain game mechanics or rules. They lay out the major concepts, gear, locations, monsters, and roles in a way that is easy to understand, approachable, and engaging; and they provide a lot of great advice for storytelling of all kinds. They’re meant to inspire creativity, without overwhelming readers with rules. I highly recommend this series for any kids who love adventure, fantasy, horror, monsters, roleplaying, storytelling, or who have exposure to RPGs.

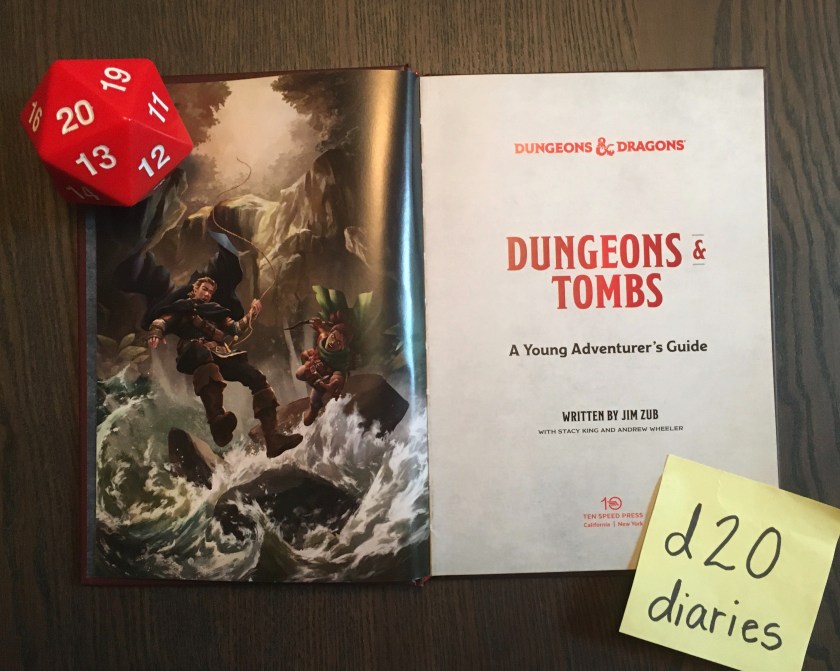
Dungeons & Tombs: A Young Adventurer’s Guide is an illustrated guide to six famous dungeons and locations in Dungeons & Dragons, and some creatures that call these places home. It also contains advice on mapmaking and dungeon crafting. Featuring one-of-a-kind entries for each of its showcased locations and monsters, and over 60 brand new illustrations, this book is sure to ignite the imagination of young readers.
This book begins with a short, three page introduction, which gives the book some context, then discusses how to prepare for a dungeon delve and the major classes of D&D. From there, it hops right into the star of this book: a profile of six famous dungeons. Each dungeon has an introduction and overview, to set the stage for the dungeon, a list of a few important locations in that dungeon, a more detailed look at one of the locations within that dungeon (along with story prompts to engage the reader’s imagination), and an ‘encounter,’ which is a short, one-page story that takes place in that dungeon, and encourages readers to decide how they would react to the events. These encounters are meant to guide kids to roleplay their own endings to exciting stories, and question the ramifications of their actions. This problem-solving is a great way to introduce kids to RPGs as both a player and DM.
There are six dungeons covered in this book, and each is very different — which I love! Dungeons aren’t always enclosed spaces or underground, so I’m thrilled this book showcases that. The six dungeons examined in this book shouldn’t surprise fans of D&D. They’re famous, of course, but they’re also locations visited in D&D 5e adventures. These include Chult, Ironslag, Ravenloft, The Sea Ghost, The Temple of Elemental Evil, and Undermountain. My kids love knowing that the places they’ve read about are out there, in a D&D campaign, waiting for them to explore one day. For those of you curious, Chult is explored in Tomb of Annihilation, Ironslag is explored in Storm King’s Thunder, Ravenloft is explored in Curse of Strahd, The Sea Ghost is featured in Ghosts of Saltmarsh, The Temple of Elemental Evil is a part of Princes of the Apocalypse, and Undermountain is showcased in Waterdeep: Dungeon of the Mad Mage . (Note: These locations have been showcased many times before in previous editions, stories, and adventures as well). Even more exciting to my kids, they already knew the names of some of these locations, as the Endless Quest series of Dungeons & Dragons children’s novels by Matt Forbeck also visits some of these locations. (For more information on Endless Quest, check out our review on the first four here and the newest two here).
Both of my children agreed that their favourite dungeon was Chult, the island of dinosaurs. My daughter’s second favourite was the Temple of Elemental Evil, while my son’s second favourite was The Sea Ghost. Both of my children agreed that Ravenloft was by far the spookiest location in the book. My son enjoyed it, but my daughter saw the word ‘werewolf,’ shrieked in panic, and flipped right past the rest of that dungeon. (She has a fear of werewolves). Preferences aside, they both really enjoyed the dungeon profiles and, just as importantly, came up with a bunch of ideas for adventures and stories they want to create in the various dungeons. It really sparked their imagination, which was nice to see. The dungeon profiles take up half of the book.


The next chapter of this book is a bestiary, which begins with a short, one page introduction. This introduction also explains the books ‘Danger Levels,’ which is a 0-5 point scale meant to show how tough a creature is. Although similar to Challenge Ratings in D&D, these numbers are NOT equivalent. Beginning at 0, which denotes a creature that is essentially harmless, moving on to 1, which is an acceptable challenge for low-level or beginning adventurers, and ending at 5, which is a difficult challenge for high level heroes. There is one Danger Level higher than this: EPIC, which denotes a creature so powerful only the most legendary heroes could hope to triumph over it.
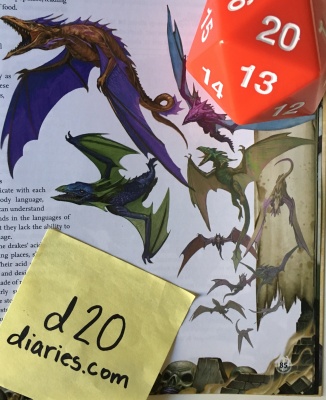
The creatures in this book are sorted alphabetically, with the ooze entry containing four different oozes. Creatures showcased are the basilisk, flameskull, gibbering mouther, grung, iron golem, lizardfolk, mimic, ooze (black pudding, gelatinous cube, gray ooze, ochre jelly), roper, sea elf, water elemental myrmidon, and yikaria. Once again, my kids both really enjoyed this section. My son read it all, but my daughter found one creature ‘too spooky’ for her. She saw the gibbering mouther… and promptly flipped right past it. Haha. Both of my kids decided the basilisk was the coolest monster in the bestiary, followed by the grung. My son also enjoyed the roper a lot, while my daughter preferred the sea elf.

The final chapter of this book was my personal favourite: building your own dungeon. This chapter is a simple, but really helpful guide that discusses how to build a dungeon that is exciting, memorable, and actually makes sense. It’s got a lot of wonderful questions and writing prompts, concepts for kids to think about, and fun ideas to spark their creativity. (Many adult D&D players would benefit from reading this short chapter, as well). The dungeon creation process covers coming up with the dungeon concept (the location, creator, and purpose), populating your dungeon (ecology, inhabitants, and traps), mapmaking (which include map symbols and sample maps), explorations and quests (essentially the goal of your adventures in this dungeon), and treasure. Finally, it discusses how to use dungeons to tell a story — either written, spoken, or as an adventure.
My kids both agreed that the mapmaking section of this chapter was the greatest part of not only this chapter, but also the entire book. They absolutely adored it! And you know what? So did I. I like the map symbols key, particularly. I was also really impressed with the opening discussion on the purpose and context of a dungeon, as I believe this is a hugely important, and often overlooked, component of adventure creation. I’m SO happy its in here. Haha.


The verdict:
As an adult reader, I was pleasantly surprised with the diversity of locations and creatures featured in this book. These are cool, exciting places to adventure and imagine, that showcase a wide variety of environments, locations, and play styles. The information included in the monster entries is absolutely wonderful. There’s integral information, great advice, and enough engaging descriptions to get my kids interested and curious. The encounters were a definite highlight of the book, as was the beautiful new artwork found throughout. My favourite section is the ‘Building Your Own Dungeon’ chapter, which is a simple but surprisingly helpful guide to making adventures, maps, and worldbuilding.
The book is high-quality and sturdy, which is important since our copy is sure to take a beating. I’m far from the intended audience for this book, but I really enjoyed reading it. Even more than that, I loved sharing this book with my kids. I loved watching them discover and wonder over the places and creatures inside, and I loved watching them immediately reach for some paper and pencils, to make stories and adventures of their own. Dungeons & Tombs is another wonderful entry in the D&D Young Adventurer’s Guide series. It’s a refreshing, fun, exciting read, sure to spark the imagination of young readers and inspire them to tell stories of their own.
My daughter: “I loved this book. It was exciting, fun, and I even made a whole adventure right away because I loved the basilisk so much. It helped me make maps, too, which is really great! I want to ask Santa for my own copy, because I think my brother and I will both want to use it all the time!”
My son: “I loved it, like my sister did. The book was so amazing it gave me all kinds of cool ideas. It is my favourite book on my shelf right now. I recommend it to kids of all ages, even if they don’t know about D&D.”
“Dungeons & Tombs is another wonderful entry in the D&D Young Adventurer’s Guide series. It’s a refreshing, fun, exciting read, sure to spark the imagination of young readers and inspire them to tell stories of their own.”
My family and I had an absolute blast reading Dungeons & Tombs, and I expect the book to continue to see heavy use in the future. They’re very excited to hear there’s another Young Adventurer’s Guide on the horizon, and will definitely be picking up a copy (or two) Wizards & Spells when it comes out in the spring.
We’d like to give a special thanks to Penguin Randomhouse Canada for sending us an advance copy for review.
Thanks for stopping by d20diaries! We’ll chat again soon.
Jessica


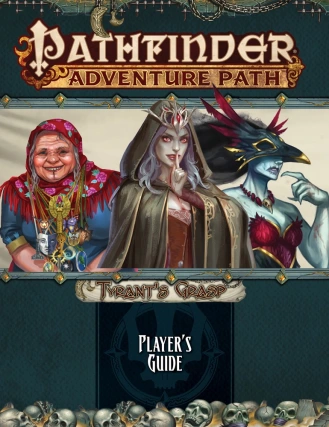 A wonderful Player’s Guide for Tyrant’s Grasp is available as a free download on Paizo’s website
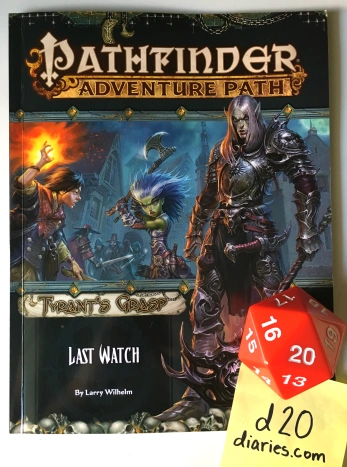
 In terms of content, Last Watch is a diplomatic mission, investigation, and exploration. PCs will need to convince the powers that be in Vigil that something horrible happened in Roslar’s Coffer and that Vigil needs to prepare for the worst. Of course, your PCs tale is rather far fetched… The PCs will need proof to go along with their words. The adventure is rather free form at the start but, as the PCs uncover clues that will lead them to further discoveries and encounters, the adventure becomes more linear.
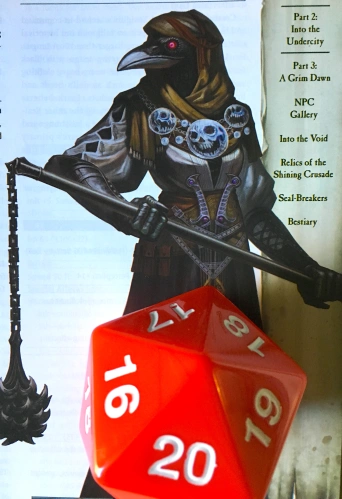 Part One: Explosive Tidings begins with the PCs entering Vigil during a holiday with the intent of informing the Knights of Ozem what’s happened to Roslar’s Coffer. But no one believes them! Obviously. Their story sounds crazy. It’s awesome. Haha. PCs will have opportunities to approach a variety of different authority figures and try to convince them to believe their outlandish tales. In most cases the PCs will need more evidence, which could frustrate some players and groups. But, with work, PCs should be able to win over some of the dignitaries. Doing so can earn your PCs rewards, allies, and have an effect on the final chapter of this adventure.
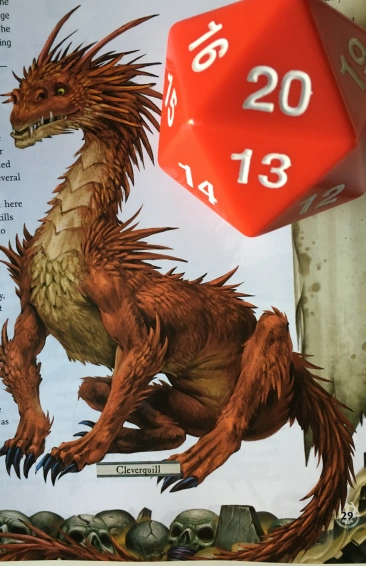 Part Two: Into the Undercity begins when the PCs investigation leads them into the sewers beneath Vigil, where they’ll take on the Seal-Breakers in their base of operations, an abandoned temple of Arazni. This location is dark and haunted, and there’s more than one way for the players to explore it, which is really nice. But, who are these Seal-Breakers, anyway? In short, they’re an evil cabal intent on freeing the Whispering Tyrant in order to acquire a really old book he had in his possession when he was sealed away. Yes, a book. And yes, the founder of this group is the person who borrowed the book to the Whispering Tyrant. Sure, it might seem a little weird, and yes, founding a cult and unleashing an undead tyrant is a rather drastic step to get your evil book back, but it’s a really special book. With it the Seal-Breakers hope to do even worse things, like unleash Rovagug and destroy Golarion. Fun stuff! All humour aside, I like this part of the adventure. The location is appropriately atmospheric, the battles are challenging, and the villains are properly… villainous! The PCs are going to figure out a lot in their time here, particularly in regards to what’s happened to Roslar’s Coffer, what’s driving this adventure path, and what’s at stake if they fail. They’re going to learn about the Whispering Way, the Whispering Tyrant, and how he destroyed Roslar’s Coffer. They’ll learn a bit about the Seal-Breakers, what this group was doing in Vigil, and that they intend to free the Whispering Tyrant, but they won’t learn enough to know their ultimate aims and goals of the Seal-Breakers. It’s likely the group will come off as a militant ally of the Whispering Way –– which is exactly how the Seal-Breakers like it! (More on Seal-Breakers later!)


 Eulogy for Roslar’s Coffer looks great. From cover to cover it’s a high quality book filled with nice maps and beautiful, dark artwork. The cover depicts Jando Parr, a half-orc ranger, in the foreground. Behind him is an image of Imrijka (the iconic inquisitor) and Kess (the iconic brawler) battling an undead moose. Both images are by Igor Grechanyi. There’s a nice map of The Gravelands (Lastwall and parts of Ustalav) on the inside cover. There’s a lot of artwork throughout the book — mostly of enemies. I particularly enjoyed the art for Chatar Esuri, Valthazar Quietus, an oracle from the backmatter, and the couatls in the Bestiary. The maps, all drawn by Matthias Rothenaicher, are really nice. They look great, of course, but they’re also well thought out and executed. All of the rooms are clearly labelled and visible, and I didn’t notice any discrepancies between the maps and the accompanying text.
 There are a lot of fun enemies in this temple. The Whispering Way cultists here (and throughout the whole book) have some really nice artwork. There’s a mutated bear that druids might be able to control or befriend, a zombie made from the red reaver that once lived here, and plenty of other traps and undead. My favourite encounters are a pair of tricky nekomata that try to separate and impersonate members of the party, and the final villain, Valthazar Quietus. Valthazar is an androgynous looking Ustalavic nobleman who is a pleasant conversationalist. He’s more than willing to chat with the PCs (as long as it suits him!). He’s accompanied by juju zombies created from the corpses of the PCs which is sure to be jarring and a ton of fun to play. It’s definitely a highlight of this adventure!
 The Bestiary is up next! It contains a random encounter chart and five new creatures written by Sarah E. Hood, Luis Loza, Jen McTeague, and Mikhail Rekun. Oddly, none of them are featured in the Eulogy for Roslar’s Coffer adventure. The first two monsters are couatls: auwaz, a CR 6 couatl found near oceans that helps the lost find their way home, and mix, a CR 8 couatl known to guide and watch over societies. Other creatures include gurgist, a CR 6 human mortic; melacage, a disturbing CR 5 incorporeal (usually) ball of undead souls; and pixie circle, a CR 7 plant creature capable of transporting enemies to other pixie circles.


 Now, let me take a moment to be clear. The Azlanti Star Empire is a pack of giant, pompous, jerks. They’re great villains for the PCs to clash with, but an overwhelming opponent. This adventure path does not send your PCs off to take down the entire Azlanti Star Empire. It’s much smaller in scale than that. And frankly? I love it. It lends a sense of suspense to the series and makes it feel like you’re playing real people in a living breathing